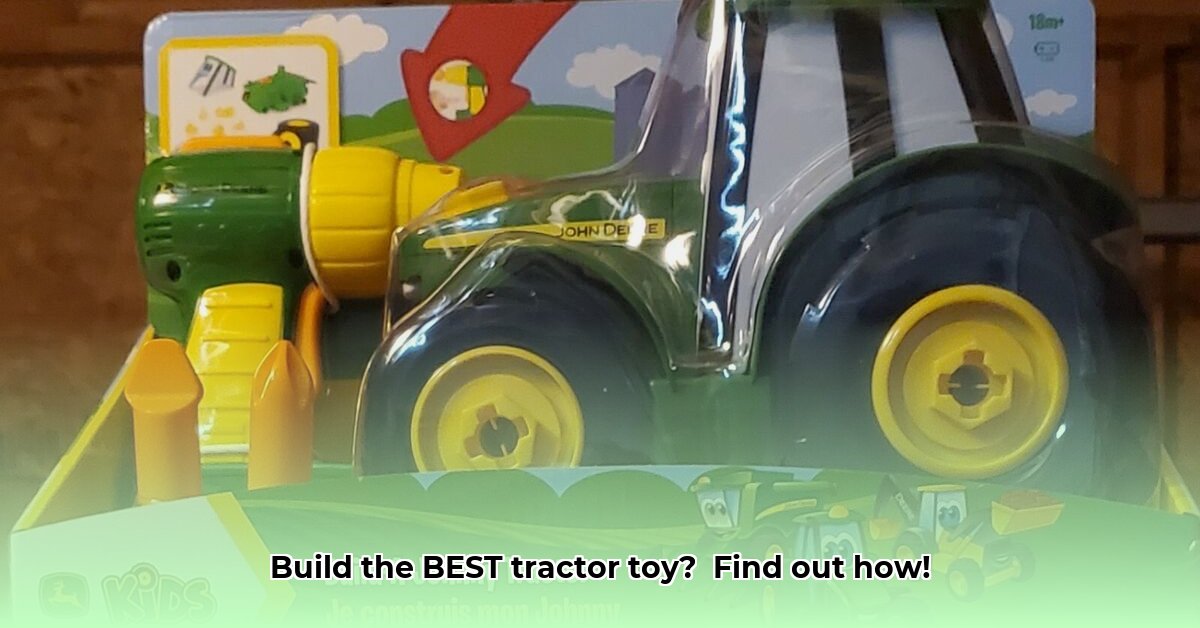
Want to combine playtime with valuable learning? Let's build a John Deere Build-A-Buddy tractor! This easy-to-follow guide, complete with photos (not included here, but envisioned for the final publication) and helpful tips, will guide you through the assembly process. We'll explore the educational benefits and fun features, making this building experience enjoyable for both you and your child. For more toy tractor options, check out this helpful resource. Get ready for some building, playing, and learning – it’s going to be a blast!
Building Your Dream Tractor: A Step-by-Step Guide
This isn't rocket science (though it does touch upon early engineering concepts!), but it's a fantastic way to bond with your child while fostering crucial developmental skills. Remember, the most important thing is to have fun together!
Step 1: Unboxing and Part Identification
Carefully open the box. You'll discover a colorful array of pieces. Let your toddler help identify the various parts—a great early lesson in sorting, shape recognition, and color identification. This is also a fantastic opportunity to practice counting together! You might be surprised how much they absorb without even realizing they're learning.
Step 2: Attaching the Wheels: A Confidence Booster
Next, the wheels! These large, chunky wheels are perfectly sized for little hands, a key design feature that makes the building process accessible even for the youngest builders. We found this to be a great confidence booster – seeing those wheels easily snap into place is incredibly satisfying for little ones.
Step 3: Connecting the Core: Building the Chassis (The Tractor's Body)
Now, assemble the tractor's chassis (the main body). It's like a simple puzzle! Let your child help line up the pieces; this encourages teamwork and hand-eye coordination. Don't worry about mistakes—part of the fun is figuring it out together! You'll be amazed at how quickly they grasp the concept of spatial relationships.
Step 4: The Tractor's Cab: A Mini-Engineering Lesson
The cab (where the driver sits) is the next step. While slightly more complex than previous steps, it remains perfectly manageable for young children. This part helps demonstrate how different parts work together – a mini-lesson in engineering principles!
Step 5: Powering Up with the Pretend Drill: Developing Fine Motor Skills
The pretend drill is a clever addition! Although not a functioning drill, the action of turning the handle and fastening the screws is incredibly satisfying and educational. It supports the development of crucial fine motor skills and provides a fun introduction to tools and mechanics.
Step 6: Personalizing Your Tractor: The Finishing Touches
Almost done! This is where your child's creativity shines. Decorate the tractor with stickers, crayons, or markers, truly making it their own. Consider adding their name for an extra personal touch! This step promotes self-expression and ownership.
What We Loved (and Maybe Not So Much) About the John Deere Build-A-Buddy Tractor
This John Deere Build-A-Buddy tractor is a winner on many fronts!
Pros:
- Engaging Design: The bright colors and iconic John Deere logo are instantly appealing to children.
- STEM Learning: Building the tractor hones problem-solving, spatial reasoning, and fine motor skills.
- Durability: Made with sturdy materials to withstand hours of playtime.
- Toddler-Friendly: Large pieces and straightforward instructions make it perfect for little hands.
- Imaginative Play: The pretend drill significantly enhances imaginative play possibilities, leading to extended playtime engagement.
Cons:
- Simple Assembly: The simplicity, while a huge plus for younger builders, might be considered less challenging for some children.
Beyond Building: Hours of Imaginative Play
Once built, the possibilities are endless! Your child can create elaborate farm scenes, haul imaginary crops, or embark on exciting adventures. The sounds they'll add – "Vroom vroom!" or "Beep beep!" – will enhance the fun!
Tips for a Successful Building Experience
Always supervise young children during assembly. Frame this as a special bonding activity, creating lasting memories. Take lots of pictures to document this fun shared experience! Remember, it's the journey together, not just the finished product, that matters most!